Design and first use of equipment (Laser Cutter)
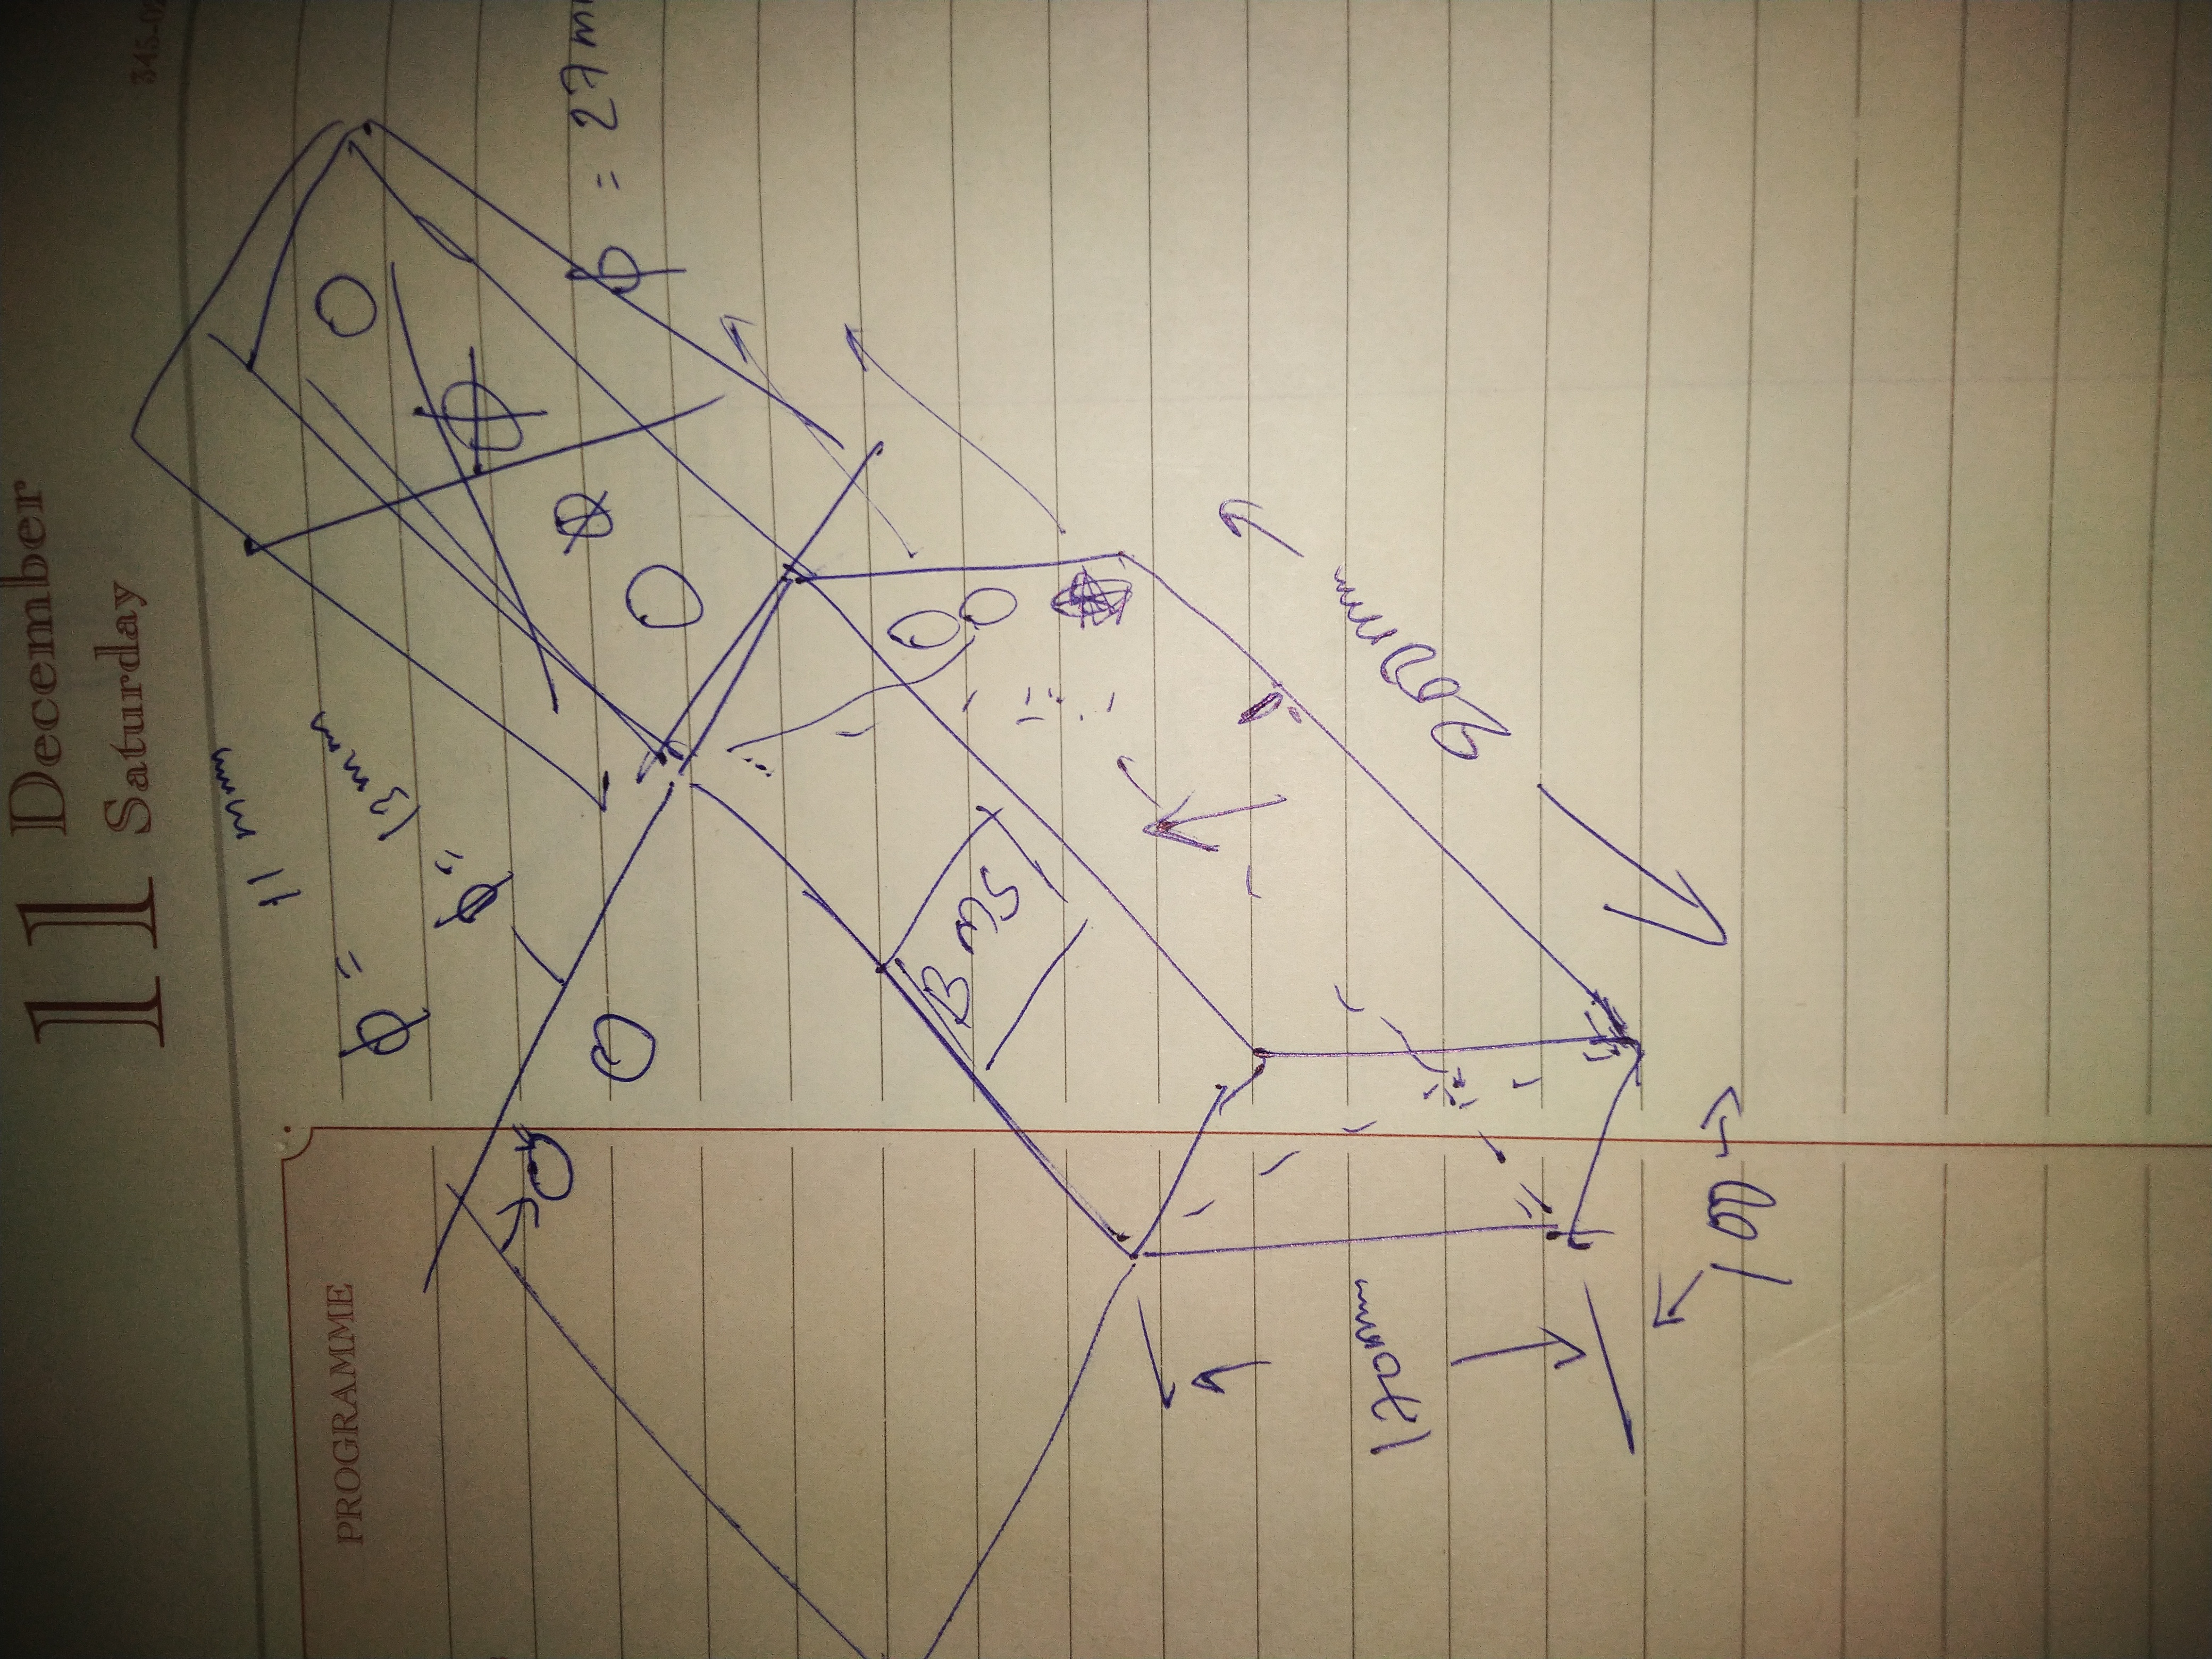
At first i was shadowing Salih the laser cutter operator in workbench projects. Checking out what software he’s using and how he goes from design or idea to physical object. The EV startup FutureTron Labs who work in the coworking space here came over and they wanted an acrylic battery box made really fast for some client who was coming soon. We got the dimensions that they needed and Sally drew a quick sketch on paper to map out how it would look.
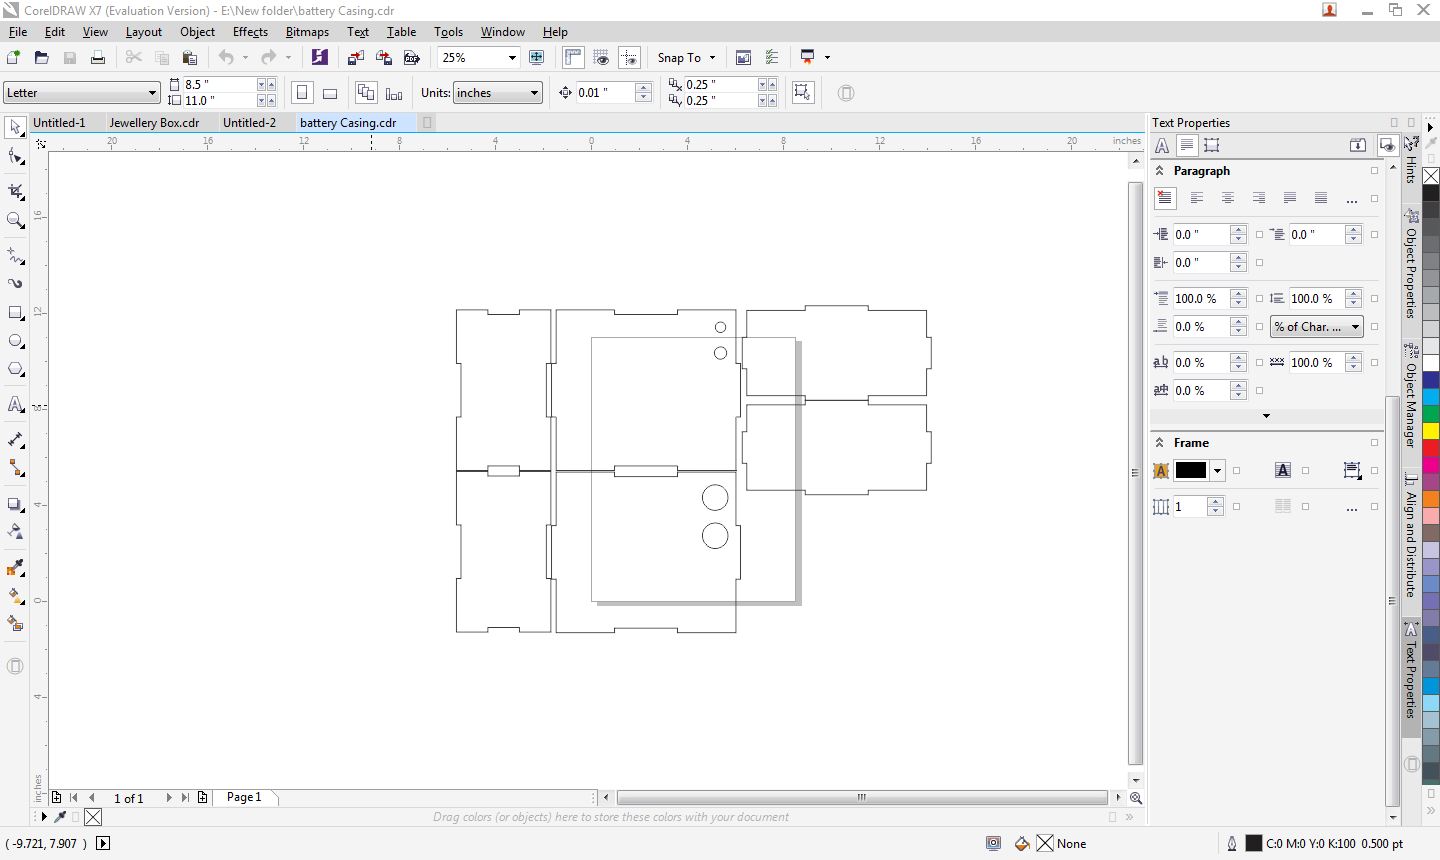
Next he used Adobe Illustrator to create a design with the dimensions he got after measuring the thickness of the acrylic we were going to use. This was then saved as a DXG file and transferred by USB drive to the computer connected to the laser cutter.
He then used a program called Thunder Laser to open the file and check if all the lines werent drawn twice or had any open ends. Next we saved the file to the USB drive again and plugged it directly into the laser cutter.
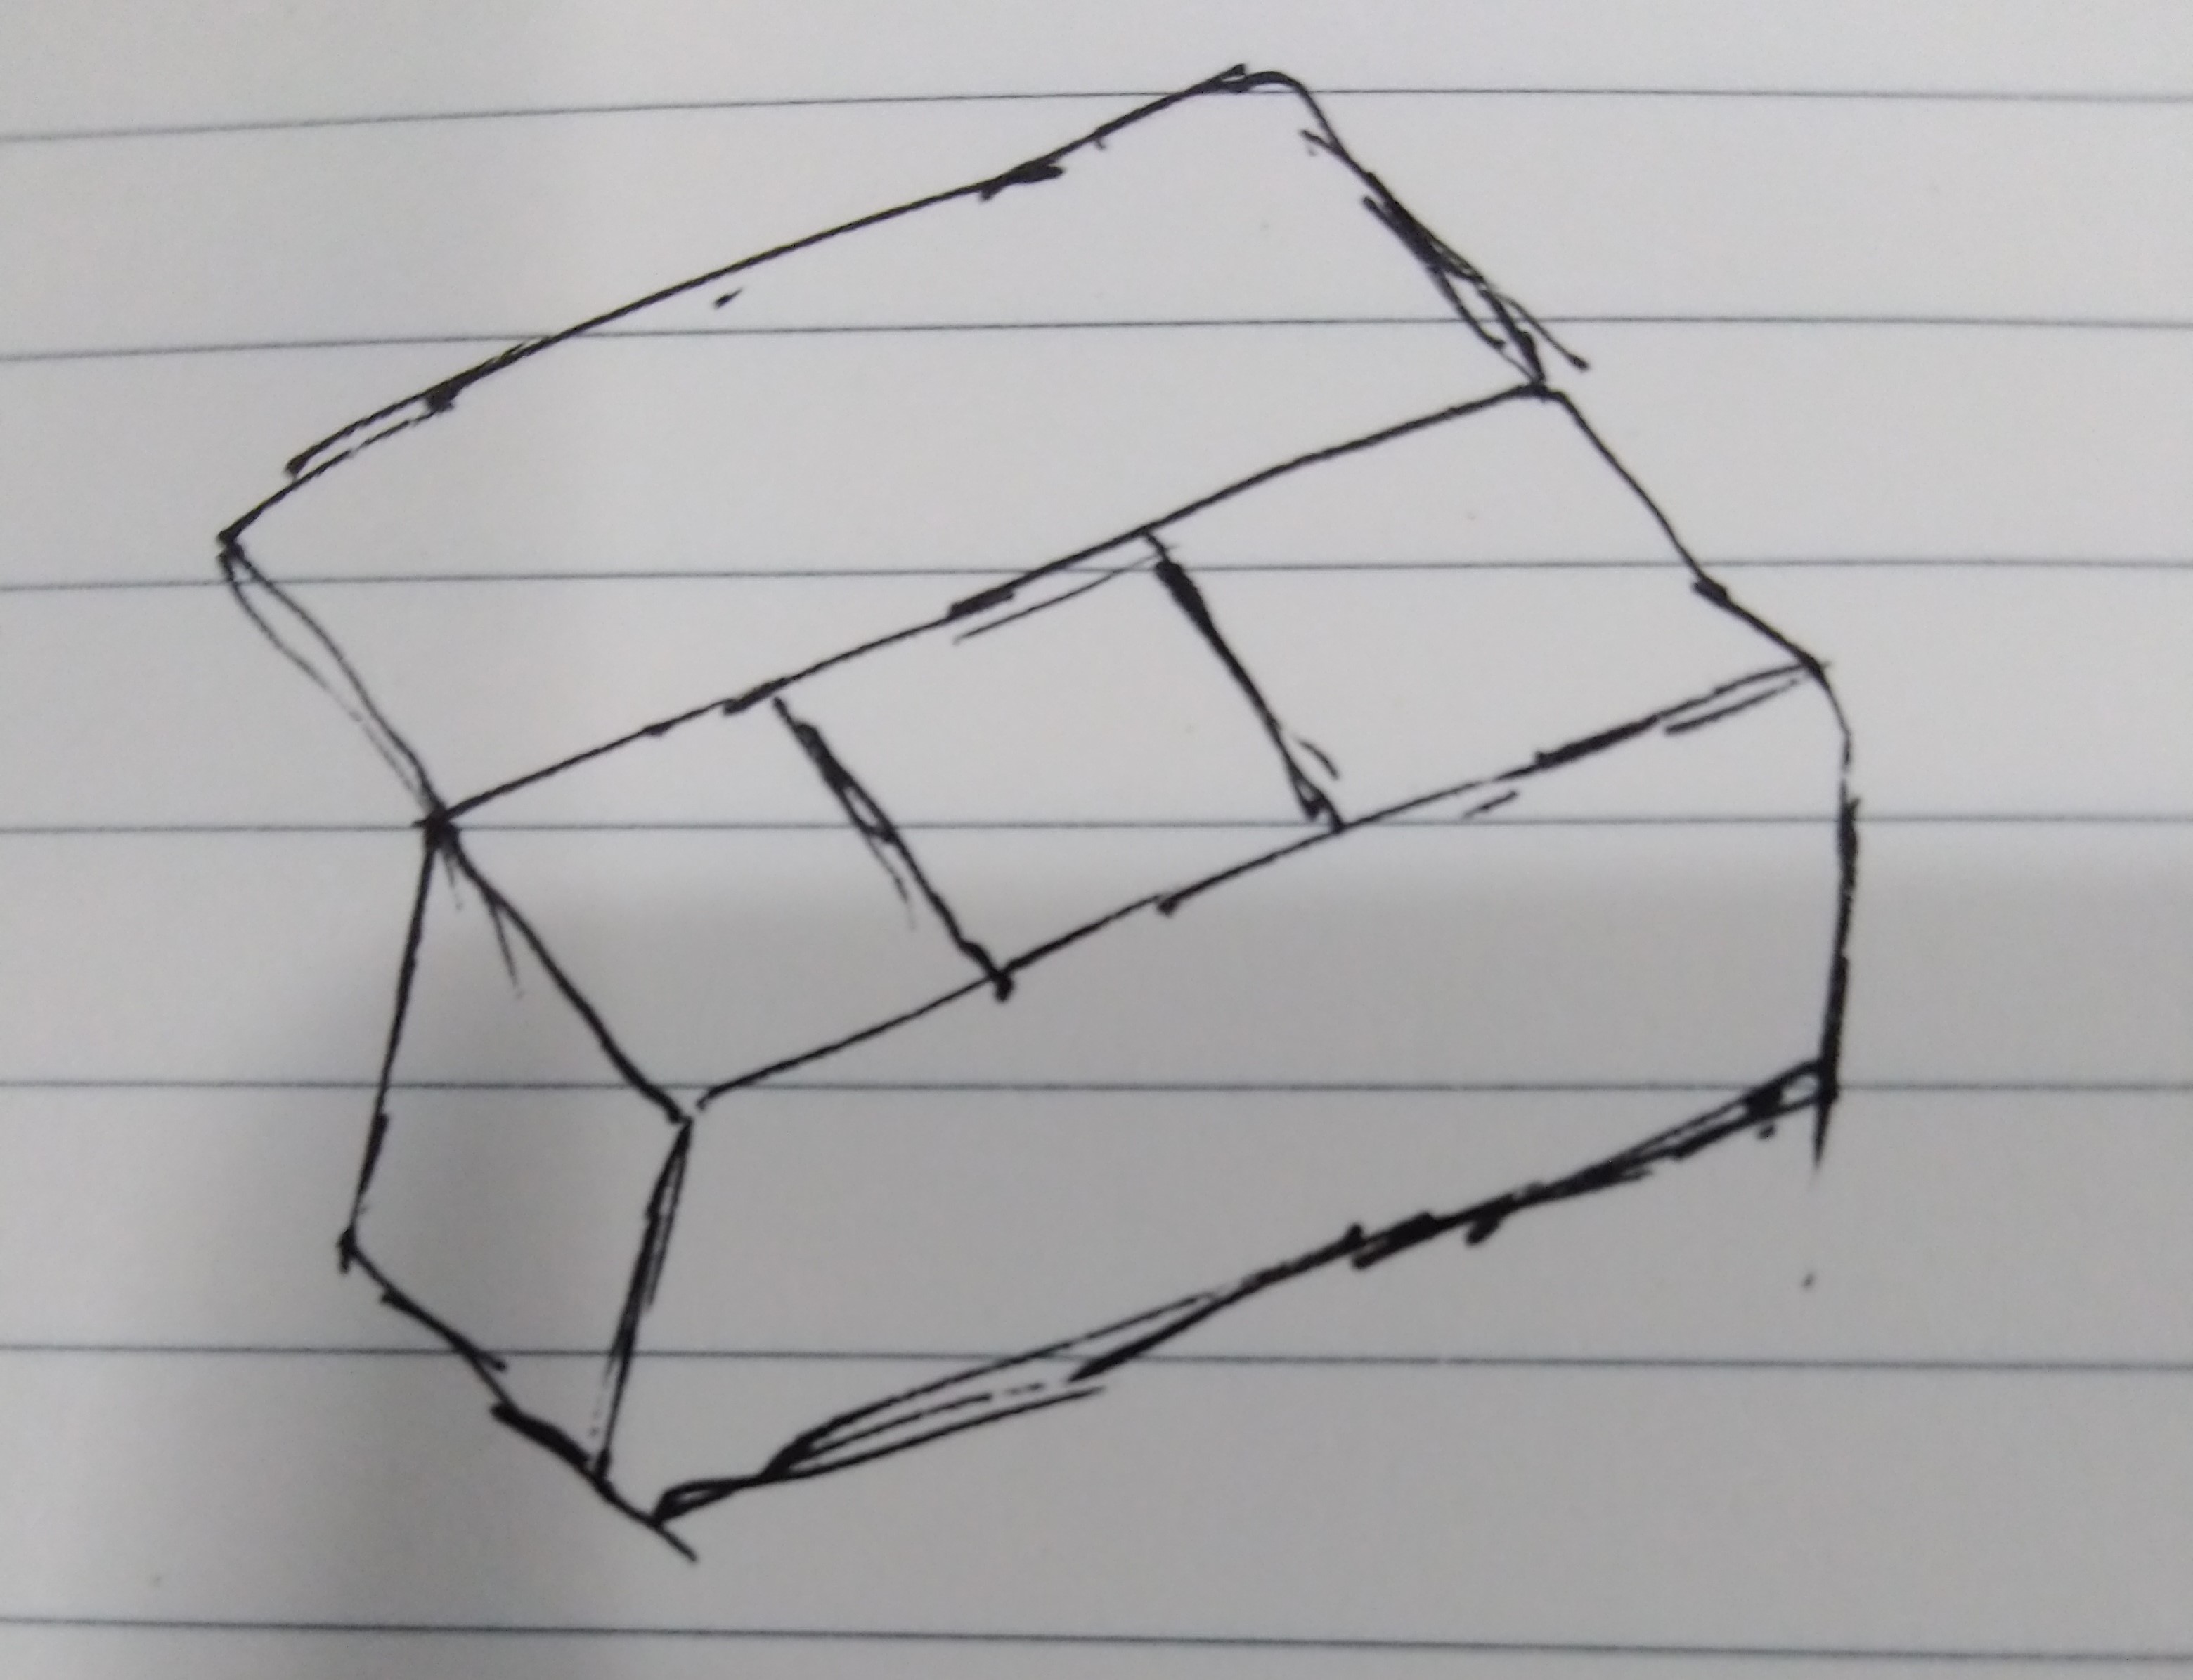
After putting in the right acrylic which we measured for thickness at the start we calibrated the start point of the laser and checked if it was clear on both Axis. After the checks we start the fun part, the Cutting begins. Watching the laser cut the insides of the design first and then super accurately cut out all the pieces was fun. After we popped out all the parts from the sheet it was time to show our EV startup how it looked by assembling it at first with just sticking the pieces together.
Here is a GIF i created of the final process of gluing together the sides to create our battery box.
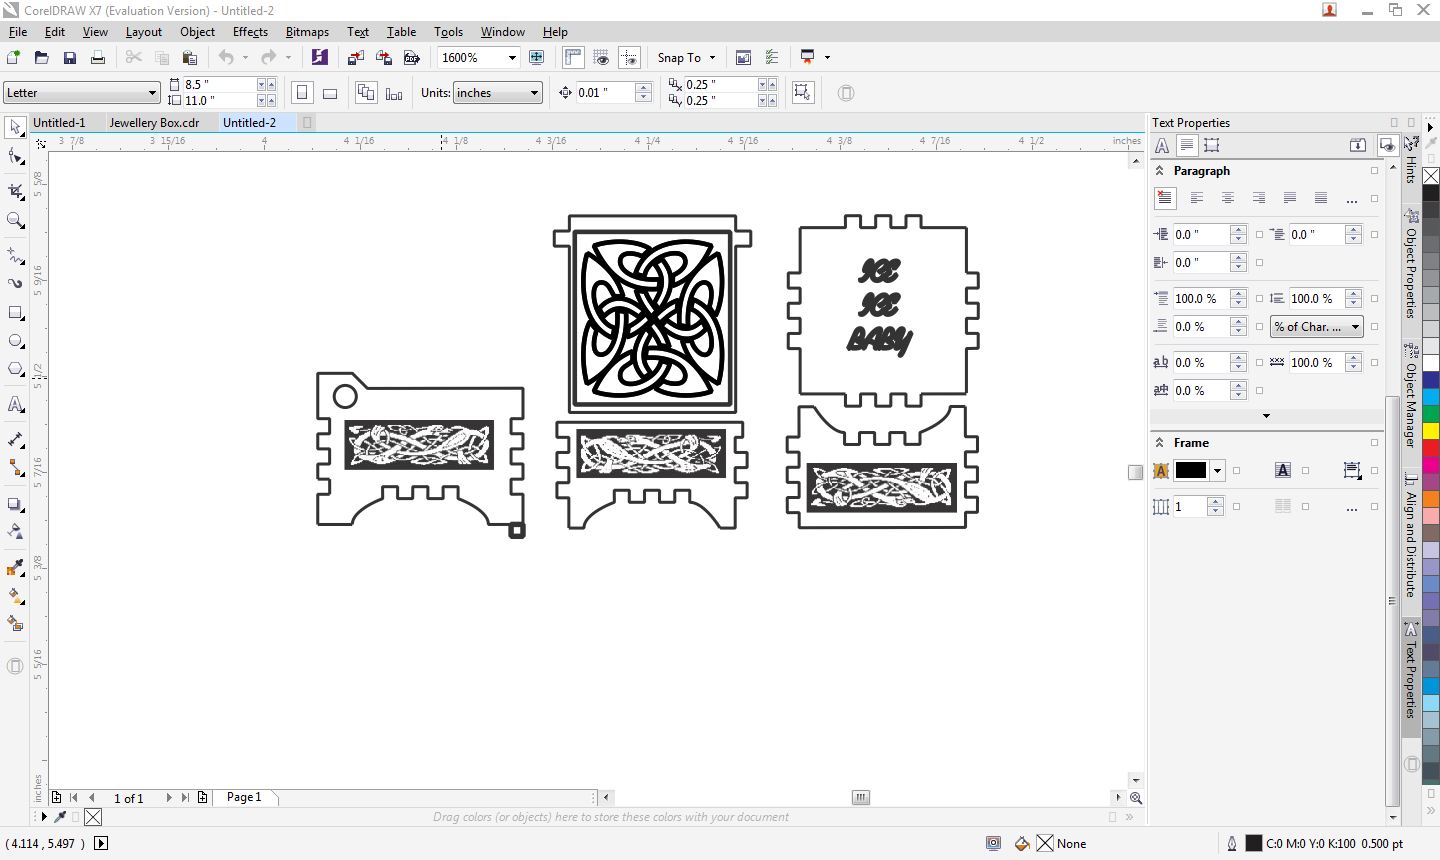
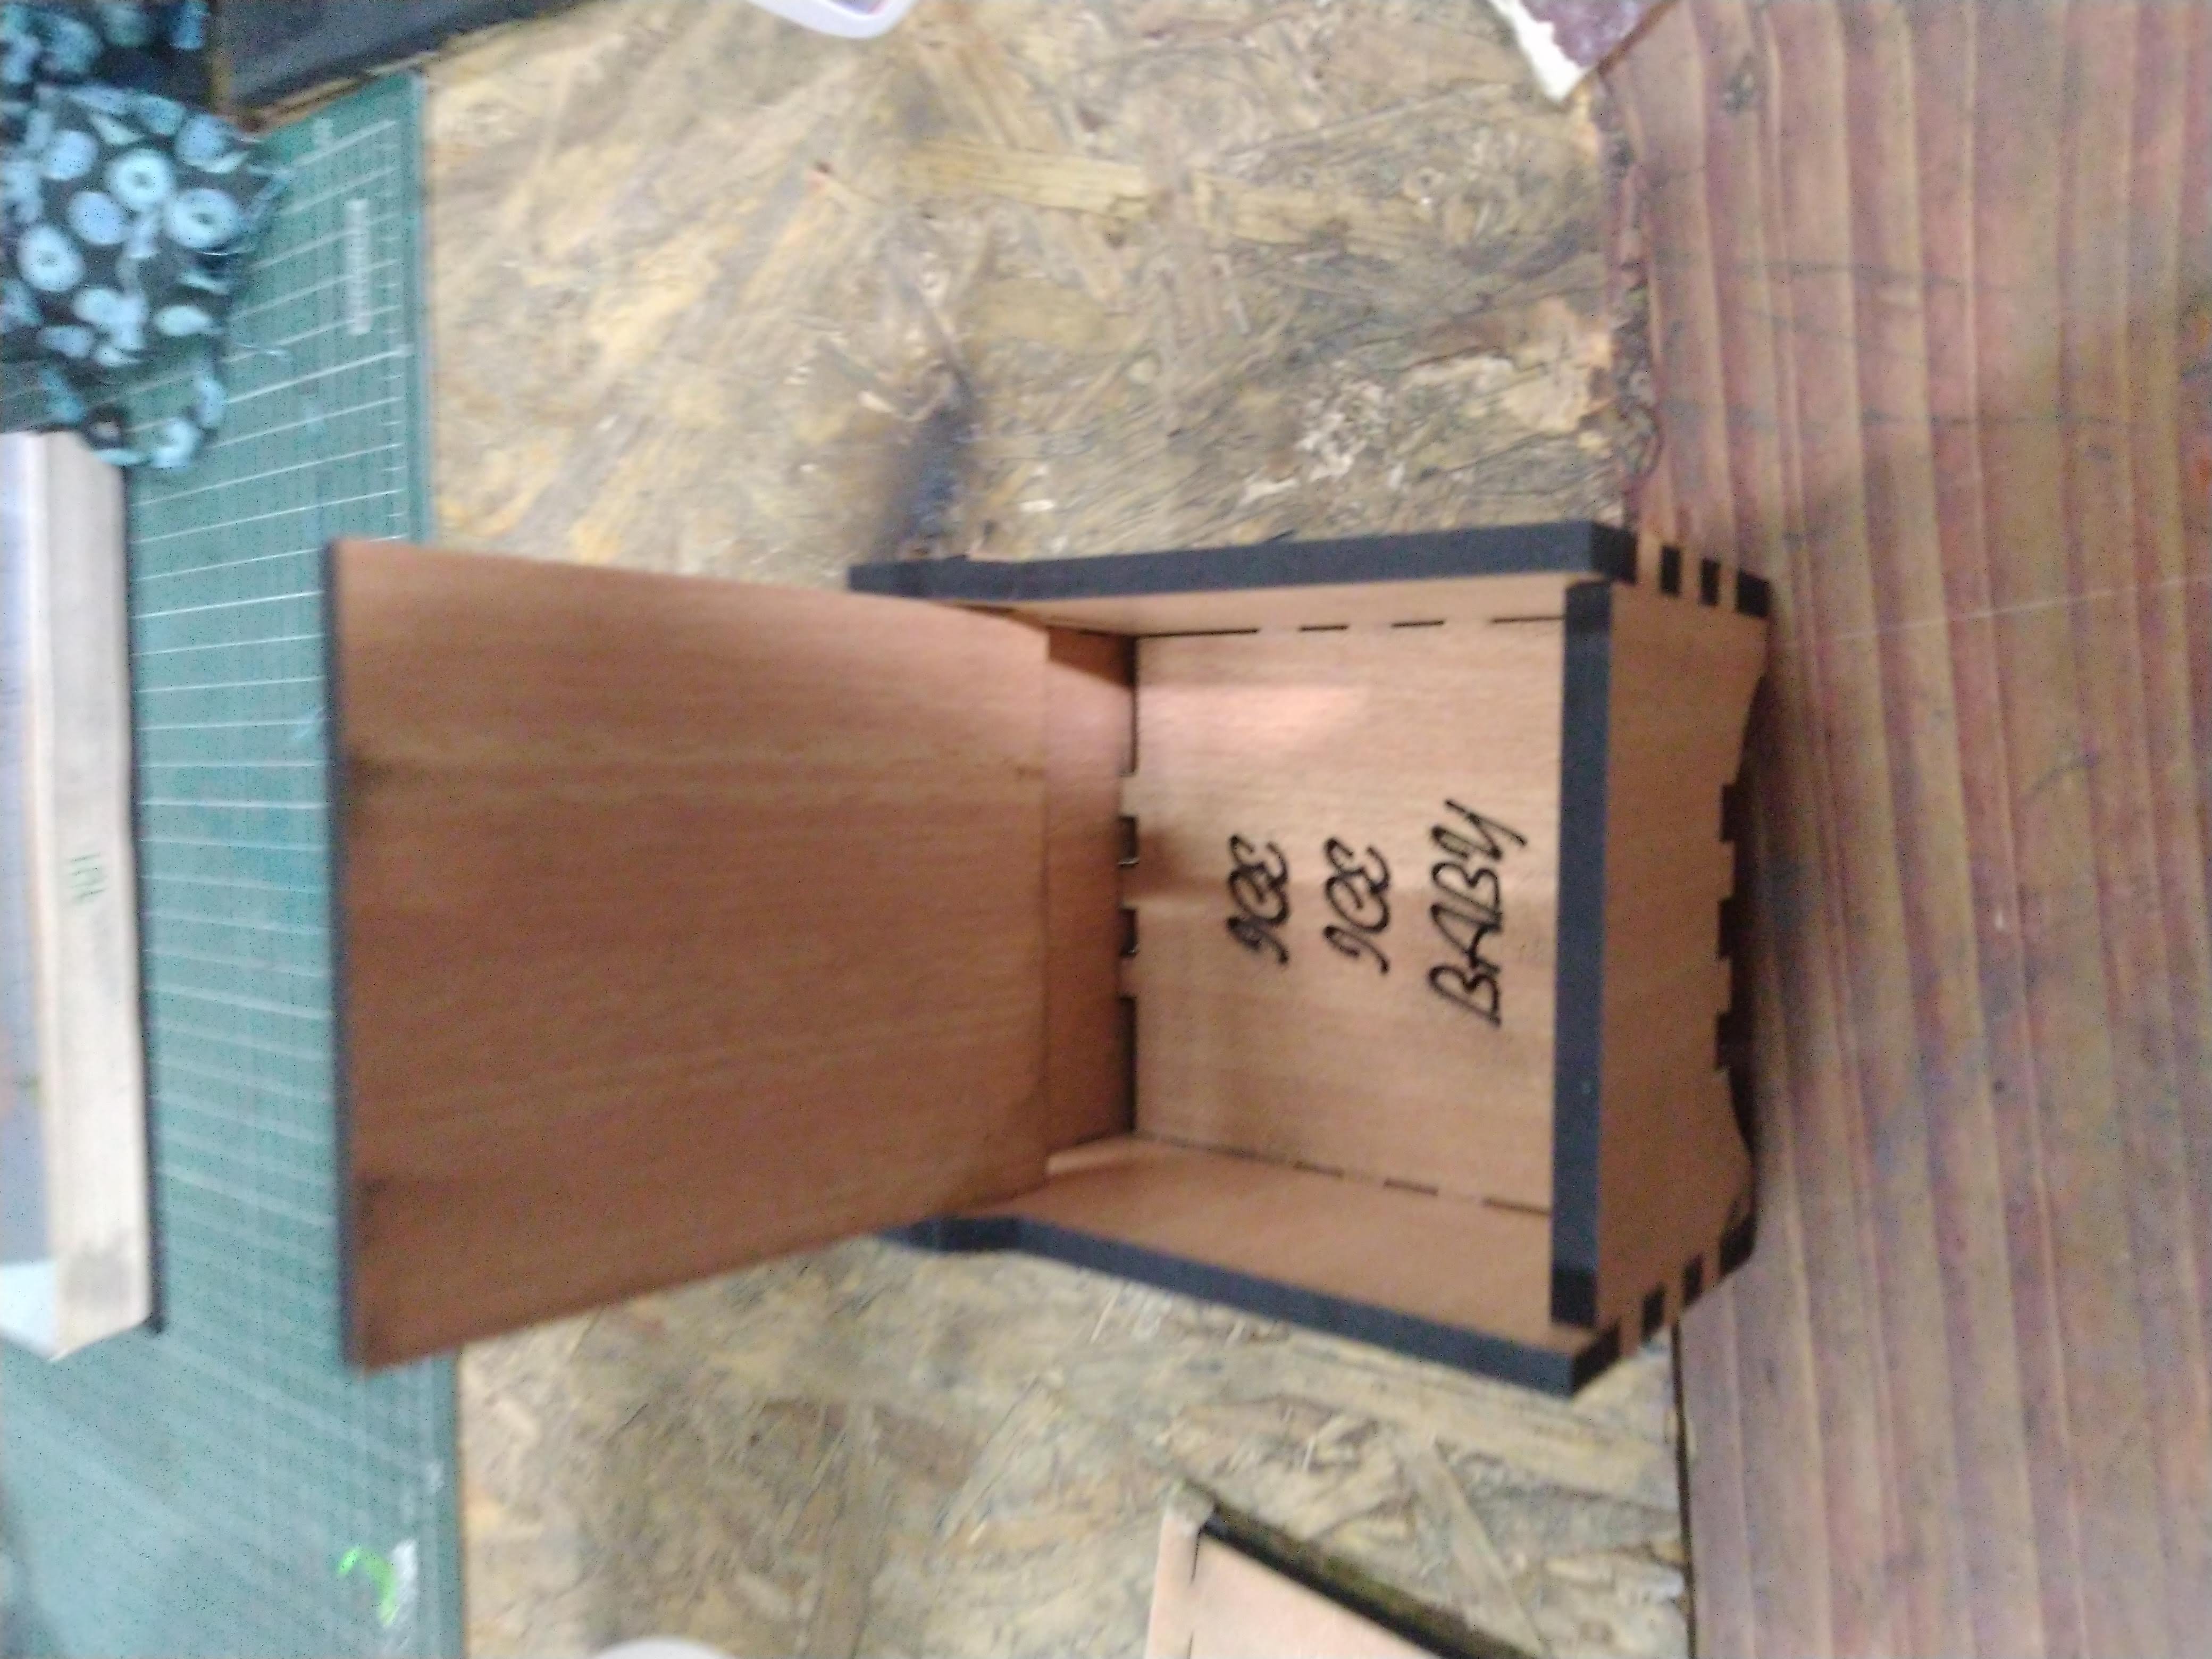
Here is a Video of me downloading a box file off Instructables editing it to fit my MDF board thickness and then cutting it out with the laser cutter. The redesign to match my board thickness took a couple of hours and the cutting just a few minutes. Background music for a little extra flair.
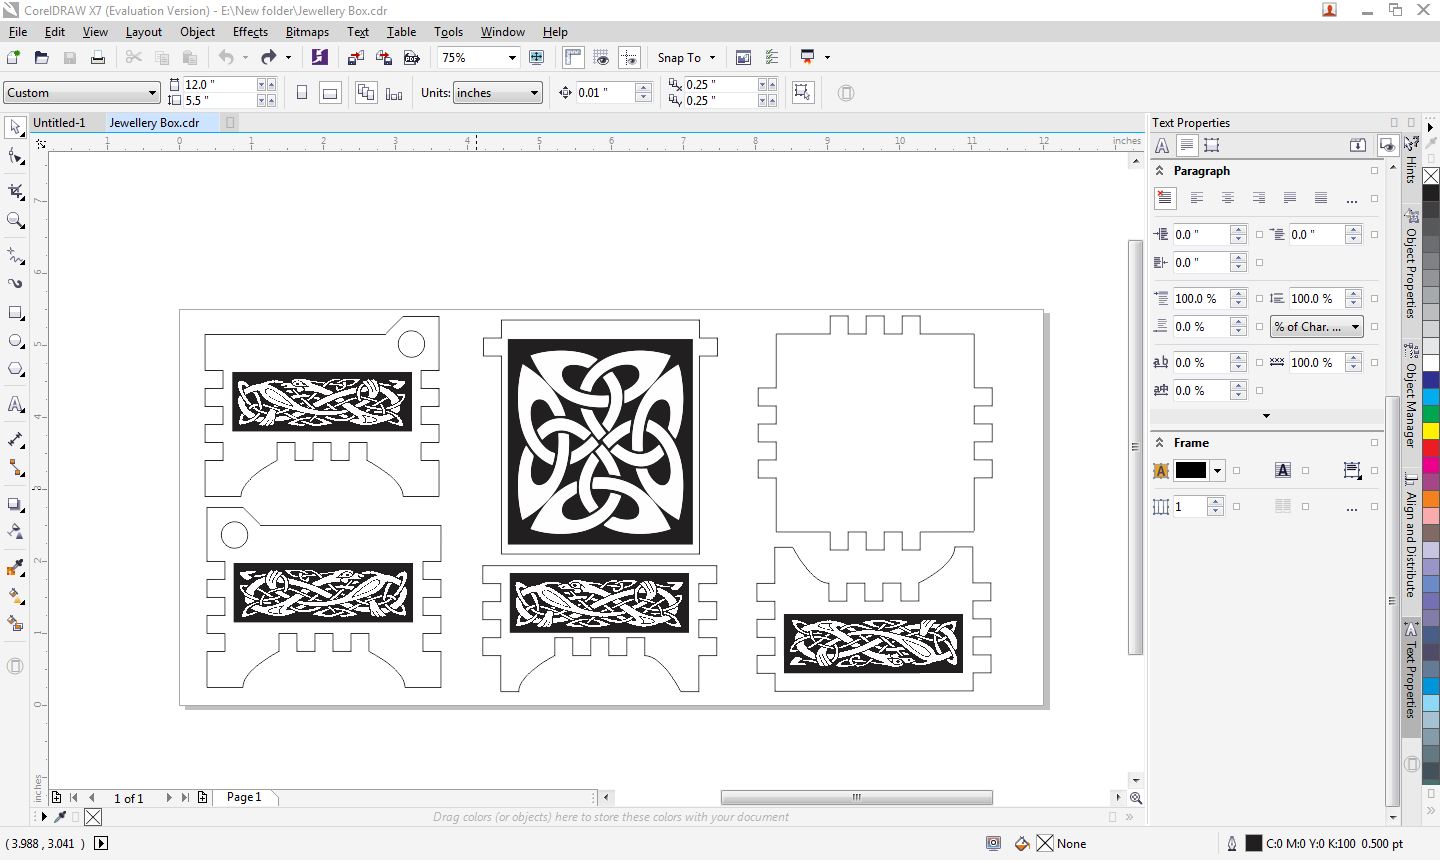
This is my editing of the file using Corel Draw X7
Before
After